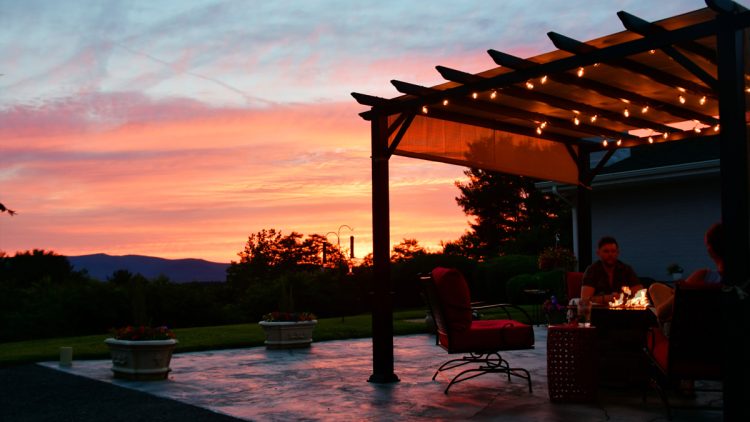
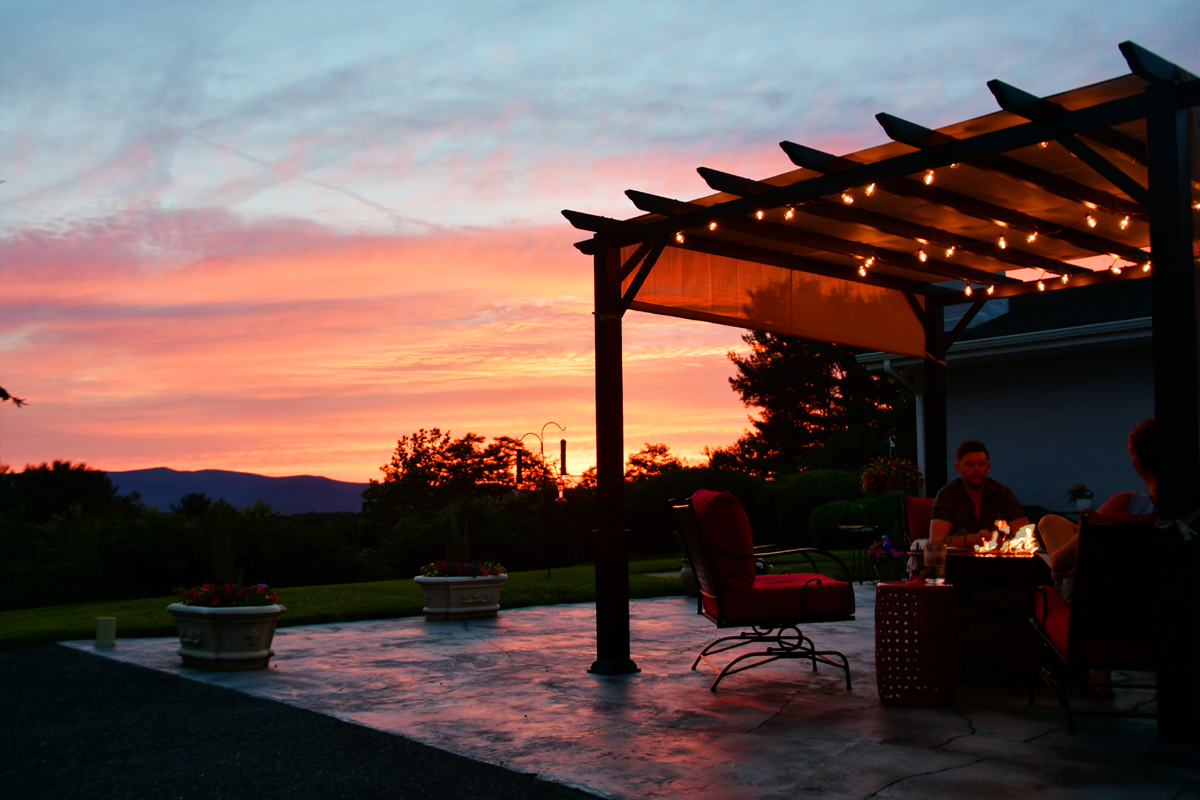
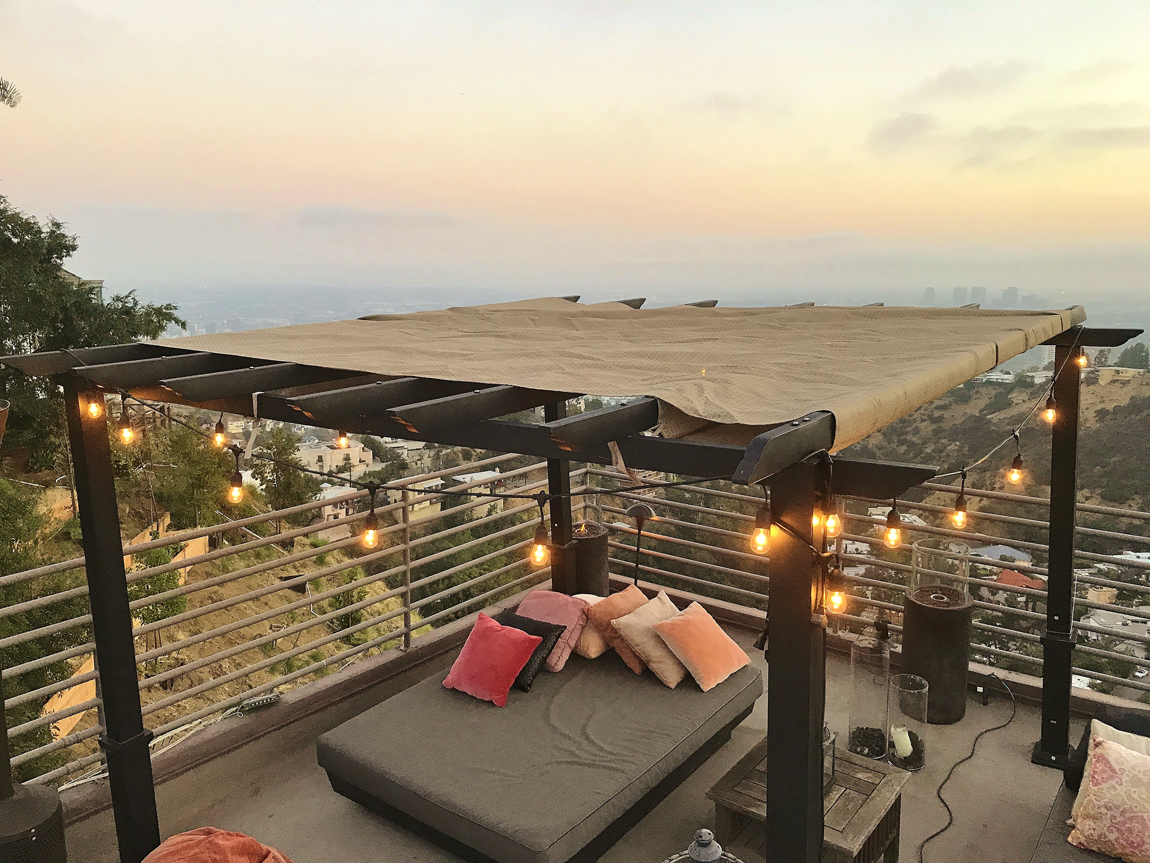
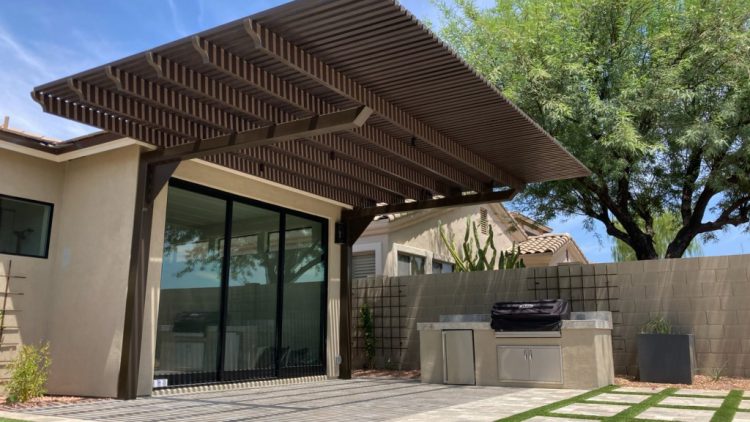
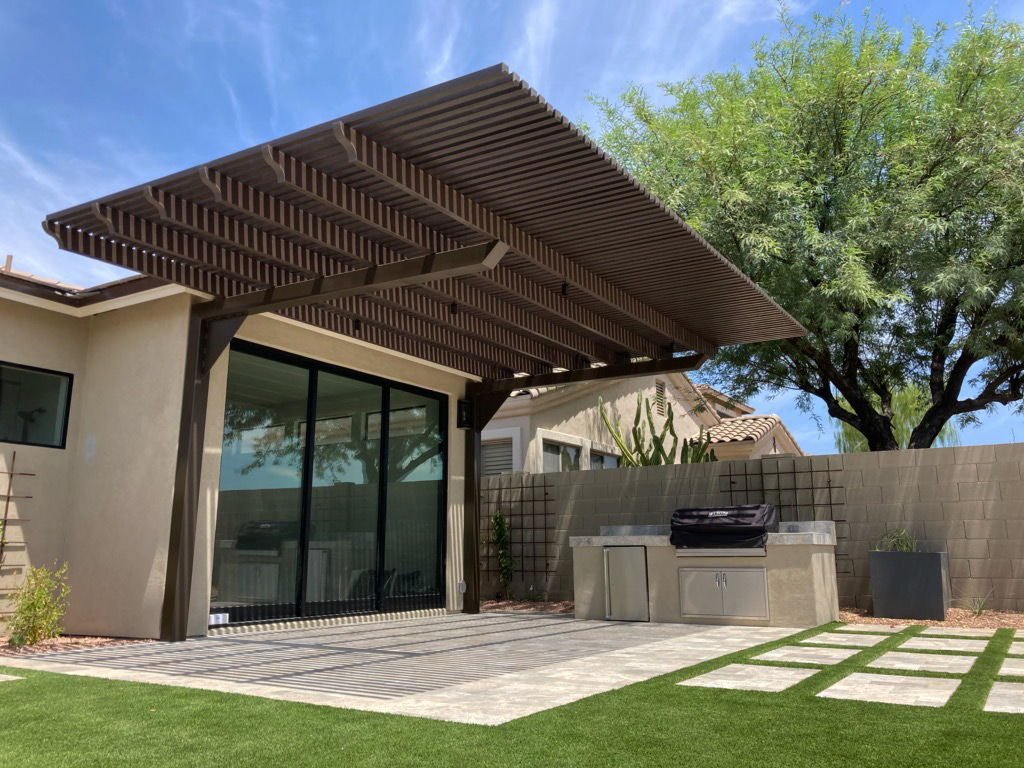
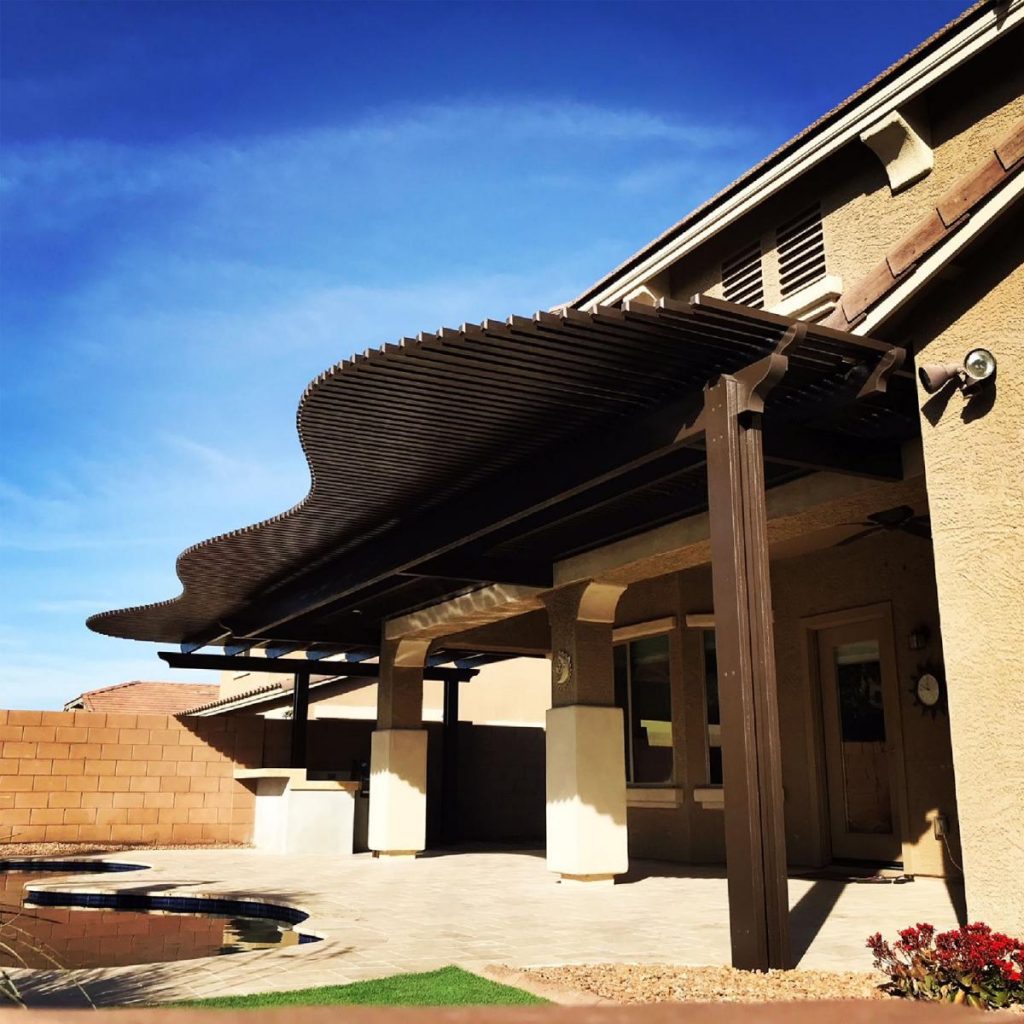
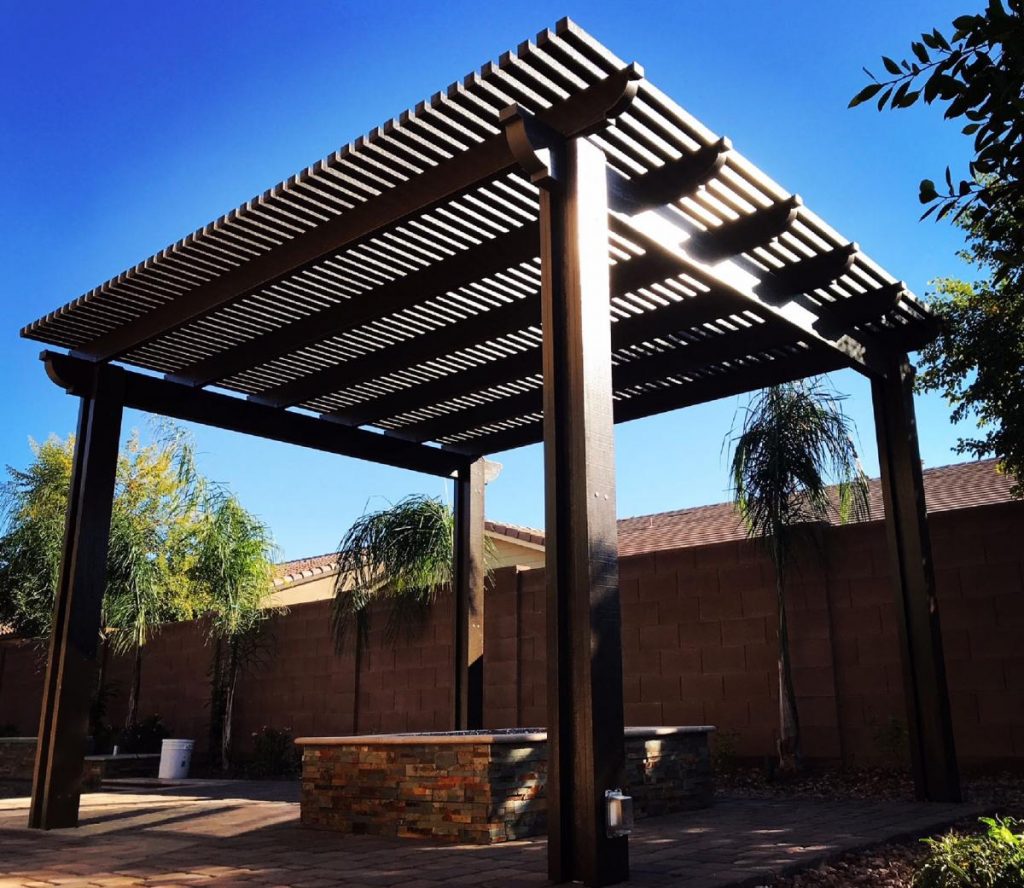
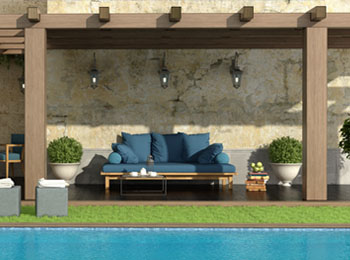
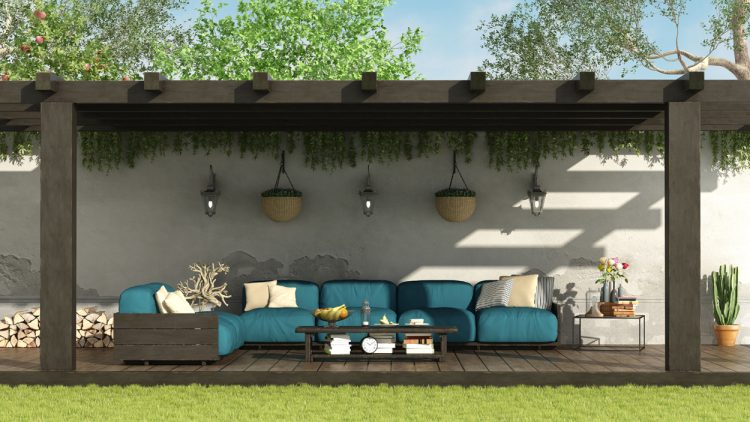
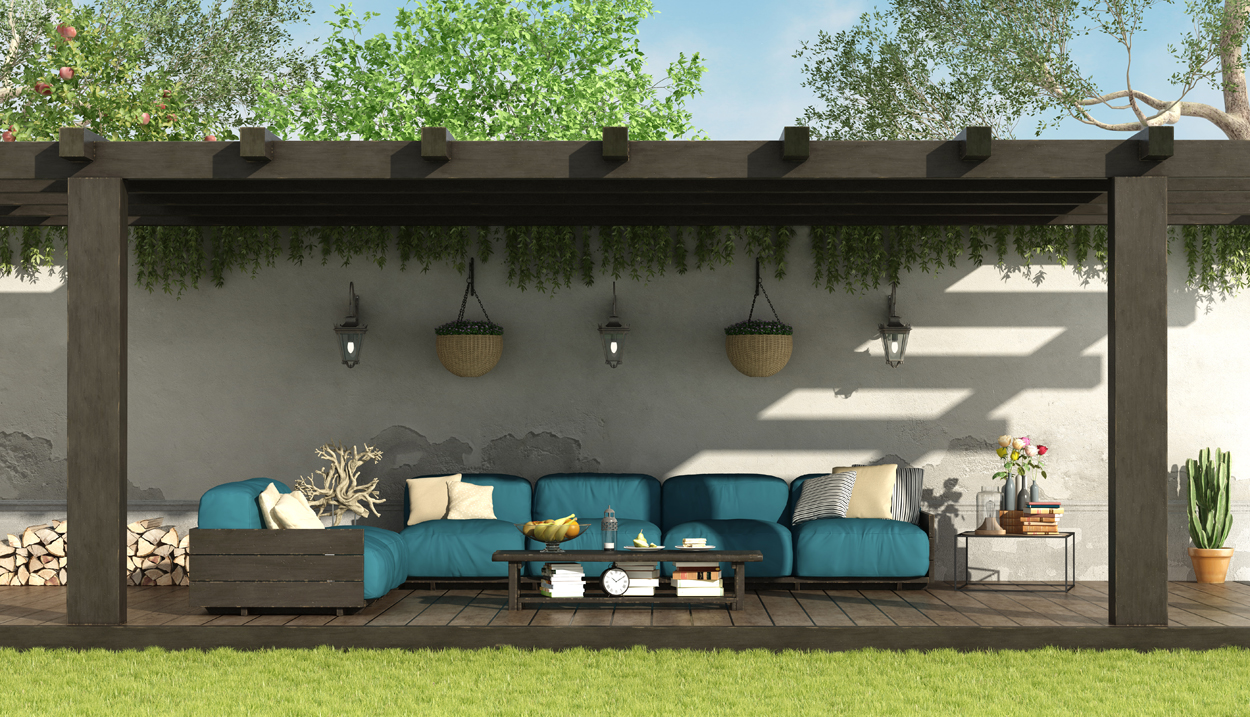
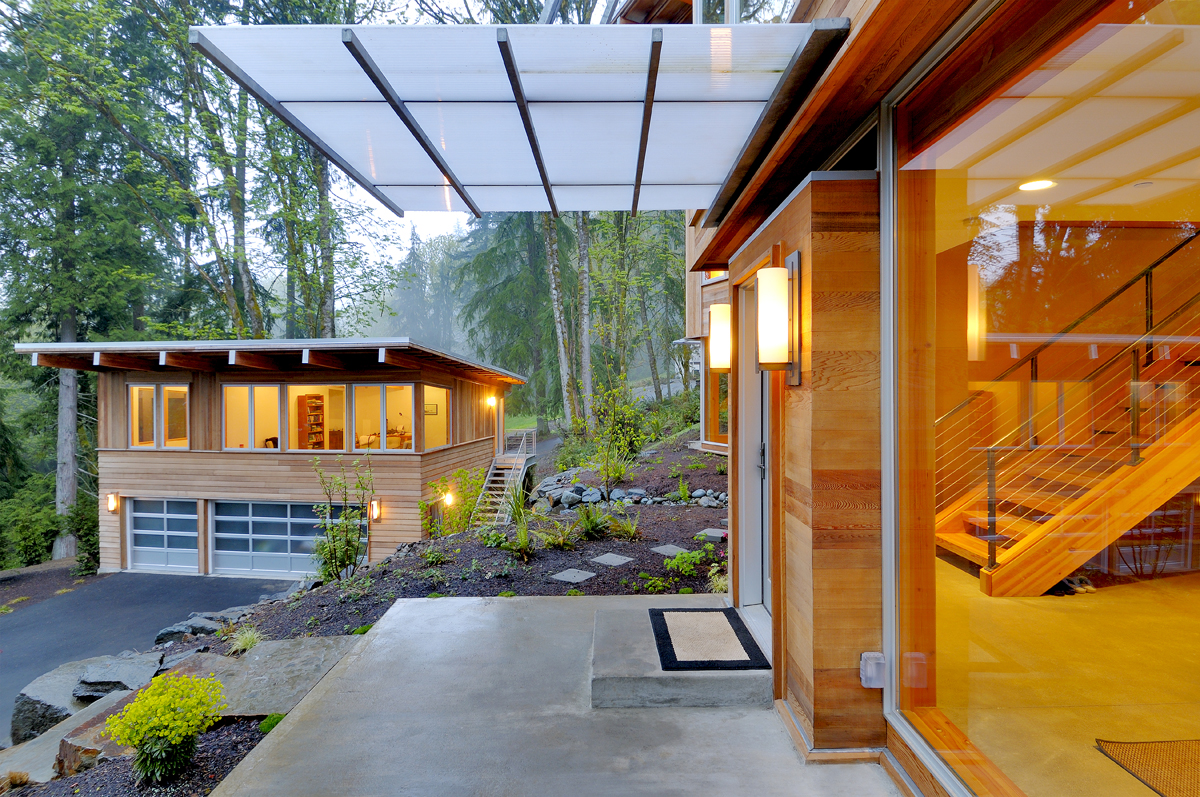
Pergolas are beautiful, open-air structures ideal for a backyard or courtyard. Commonly constructed of vinyl, wood or aluminum, pergolas are typically installed on pavers or concrete patios. Let’s explore some of the top purposes of these structures.
What Is A Pergola?
Most experts do not define pergolas as a roof since it is built from a frame with open rafters. This means it cannot fully protect a home from inclement weather. Pergolas can, however, add much-needed shade to a backyard or garden area.
Pergolas can either be freestanding structures or attached to the home, depending on type of design desired. Homeowners can choose from a variety of high-quality wood stains or iron elements to build a pergola that can withstand weather conditions and add to the character of your home.
Here are a few reasons why so many homeowners choose to add these structures to their property.
1. Pergolas Make A Backyard Beautiful
Pergolas undoubtedly provide beauty in your backyard with their elegant structures. The design styles are created to enhance your yard, pool or patio area. Homeowners have the ability to customize the design to fit their needs. You can choose a material like wood, aluminum, vinyl or fiberglass. Next, you can pick from many different styles, including modern, classic and rustic.
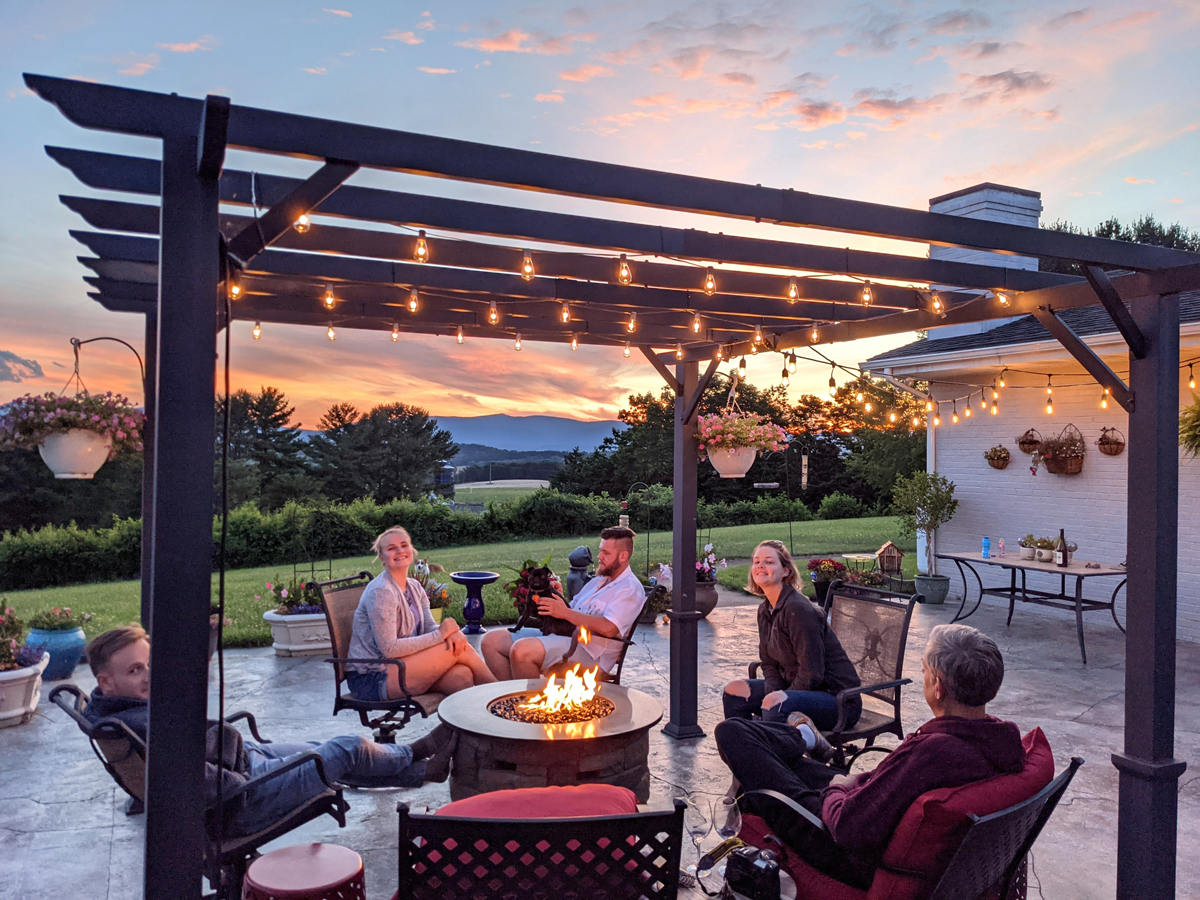
Another way to put in even more beauty is by adding some hanging plants or grape vines to the beams. You can also give your pergola a romantic feel by adding some dusk lighting around the posts or cross beams.
2. Creates Shade
One of the main reasons why so many homeowners choose pergolas is because of the extra shade brough to the yard. These structures provide some much-needed relief from direct sunlight above.
While pergolas do not provide full shade, their versatile structures will allow for many different shade options. Some different ways to add extra sunblock include adding some fabric sales, plants or bamboo to the structures.
3. Affordability
Compared to both pavilions and gazebos, pergolas are the most affordable option. Gazebos and pavilions can cost upward of $4,000, while a custom pergola comes with an average cost of $3,500.
4. Pergolas Add To Your Home’s Value
Are pergolas really worth it as an investment? The answer is yes. The pergola’s shade and beauty will add value to your home. Experts suggest the landscape of your home can raise your property value by an estimated 15%.
Pergolas can last a lifetime with proper maintenance and care. If you are looking to do as little upkeep as possible, then opt for vinyl as your material of choice.
JLC Offers Pergola Installation In Phoenix, Arizona
If your thinking about installing a patio cover in Arizona, let JLC assist! JLC offers installation of wood, alumawood, aluminum and lattice patio covers and pergolas for homeowners in Phoenix, Gilbert, Glendale, Mesa and other areas in Arizona.
Check the level one more time before completing this project.
JLC Offers Patio Cover Installation In Phoenix, Arizona
If your thinking about installing a patio cover in Arizona, let JLC assist! JLC offers installation of wood, alumawood, aluminum and lattice patio covers and pergolas for homeowners in Phoenix, Gilbert, Glendale, Mesa and other areas in Arizona.
The average patio cover cost is about $1,000 to install a 10ft x 10ft patio cover. A patio cover is an inexpensive way to upgrade your home’s exterior space depending on the type you choose. Some patio covers cost more to install than others. Learn more about the cost to install different types of patio covers below.
Cost By Size
10×20 ft patio cover: $1,500, range $1,000-$2,000
80×20 ft patio cover: $5,000, range $4,000-$6,000
100×100 ft patio cover: $7,500, range $5,000-$10,000
Cost By Type
Aluminum Patio Cover Cost: $3,500, range $2,000-$5,000
Vinyl Patio Cover Cost: $5,050, range $3,800-$6,300
Wood Patio Cover Cost: $10,000, range $7,000 to $13,000
Lattice Patio Cover Cost: $5,750, range $4,000 to $7,500
How Much Do Patio Covers Cost?
As an example, use a basic 10ft x 10ft (100 sq ft) lattice patio cover In the majority of materials found, costs would start around $1,000 to install. However, depending on the patio cover, this cost can have a large range of cost. Therefore, the difference comes down to a few important cost factors, being the difference between all material costs for the patio cover you want.
The overall location (on a hill, dirt, finished slab), and dimensions needed for the finished product.
The style of patio covers you are wanting, is it a solid cover or lattice cover?
The majority of patio covers may be fabricated as one of three main materials, including wood, aluminum or vinyl. The material type will greatly impact the overall cost, along with labor cost for installation.
Remember, harder installations will be more expensive. It is easier to install rectangle patio covers than ‘L’ shaped covers. Additionally, add-ons, such as custom paint, footings or lighting will increase the final cost of the patio cover project as well.
Aluminum Patio Cover Cost
Aluminum patio covers cost about $3,750. Installation costs range from $2,000 – $5,500.
For decades aluminum patio covers have been a common option due to it being an inexpensive option. In addition, the material is versatile. There are Alumawood patio covers that feature distinct patterns of wood grains, like those at jlcenterprises.com. This gives a combination of both materials, you get the look of wood and a lower cost than vinyl or wood.
Not only is the price an advantage, aluminum patio cover provides weather resistance from rusting, termites, cracks, and rotting. Alumawood covers are able to be customized to match your preferences and needs. They can be installed in a popular lattice cover style, a 3-inch thick high-density insulated foam roofing system, or uninsulated roof. The cost will depend on the final systems, styles and kits used.
It is fairly simple to install these type of covers, even for homeowners that enjoy DIY projects. If a kit is purchased, covers will come with required parts for the entire installation. Of course, you have to provide the tools. With help, the average expected installation time for a 10ft x 10ft aluminum lattice cover is 8 hours.
If you’re interested in a professionally installed 10ft x 10ft uninsulated Newport cover, the cost averages $2,000 – $3,500.
A professionally installed 10ft x 10ft lattice cover averages $1,800 – $2,200.
For a professionally installed 10ft x 10ft Alumawood 3-inch thick insulated cover, without any add-ons the cost averages $3,600 – $5500
Pros:
Affordable
Good for resale
Simple to get permitted
Ceiling fan and light compatible
Lightweight and simple to install
Various styles and colors
Appearance like real wood
Does not deteriorate or rot
Does not require painting, ever
Cons:
Appears like a ‘kit’ cover
Aluminum is not allowed by some HOAs
Can be damaged easily
Gloss look to paint
If cut wrong, an entire new piece is required.
Vinyl Patio Cover Cost
Vinyl patio covers cost about $5,550. Installation costs range from $3,800 to $6,300 which is more than aluminum patio covers, but slightly less on average than wood patio covers. Basically, when compared to aluminum and wood, vinyl is the worst of the trio.
Vinyl patio covers fall between wood and aluminum. It is fabricated from PVC, giving a larger range for application. Did you know that PVC is most popular for being used in plumbing, with 75% of plumbing pipes being made from PVC worldwide? It can also be located in flooring, electrical piping, and clothing too. In the healthcare industry, PVC is used everywhere, from oxygen masks to surgical gloves.
Vinyl is a popular material because it resists frequently encountered issues with wood, such as warping, rot, insects, etc. Unlike Aluminum, it will not crack, fade, or rust. Although, there are cases where vinyl has yellowed over time. However, vinyl also shares various characteristics that aluminum provides.
The reason vinyl more expensive than aluminum covers is because it requires more material/product to install. Like wood, aluminum is a stand-alone product, where vinyl will need extra steel members installed for stability at each structural piece. These additional pieces increase the cost of vinyl patio covers, due to more material and labor. Aluminum and wood do not require any extra pieces to remain stable.
For a basic 10ft x 10ft fully covered vinyl patio cover, the average cost ranges between $3,825 – $6,275.
DIY kits for solid roof patio covers range between $1,800 – $4,300.
The average cost of vinyl lattice patio covers range between $2,200 – $4,350.
The average cost of DIY kit for lattice patio covers range from $989 – $3200 with custom cutting.
Pros:
Compatible with ceiling fans and lights
Does not need painting
Does not deteriorate or rot
Good for resale
Moderate risk of damage
Cons:
Expensive
Known to yellow over time
No wood patterns, smooth finish
Requires add-ons for stability
Sometimes untreated wood is used by contractors as filler
Drawings or engineering may be required for certain conditions
When cutting, a wrong cut requires a whole new piece/cover
Wood patio covers cost about $10,000. Installation costs range from $7,000 – $13,000. Designing a wood patio cover requires blueprints or drawings for construction unlike vinyl or aluminum which come pre-built. Blueprints for a wood patio cover averages around $1650 while the cost of an engineer will add another $1500.
Pros
Wood patio covers are great because they use natural wood
Your patio cover can be constructed to match your roof or rest of the house
Wood is easily repairable unlike aluminum which dents easy
Increases your homes resale value
Easy installation
Cons
Need a designer and engineer
Can deteriorate faster than aluminum or vinyl
Its extremely heavy
Can become termite infested if not treated properly
Requires re-painting or re-staining (about $2,000 every 2 years.)
More expensive than vinyl or aluminum
Lattice Patio Cover Cost
Lattice patio covers cost about $5,750. Installation costs range from $4,000 – $7,500.
Pros
Same pros as wood patio covers
Cons
Same cons as wood patio covers
Alumawood Patio Cover Cost
Alumawood patio covers cost about $3,018. Installation costs range from $1,822 – $4214. Alumawood is material that has a wooden texture but is completely made from recycled aluminum. It combines to awesomeness of wood and aluminum without the cons. Alumawood patio covers are a great choice vs wood patio covers as alumawood won’t degrade or rot like real wood will. It’s also maintenance free unlike some other patio covers.
Pros
Alumawood can be made to look like wood without the cons
Little to no maintenance
Cons
Not real wood or real metal
Pergolas Cost
On average, installation of a pergola costs $5,250. Pergola installation costs ranged from $3,500 to $8,000 for the US in 2019. Pergolas, also known as arbors, are a very popular type of patio cover. A pergola is meant to cover your patio, hence the name patio cover, and forma shaded area for entertaining, seating and a simple structure to your outdoor space.
Lean-To Patio Cover Cost
Lean-to patio covers, also known as a house-attached patio roof uses the home’s own structure to support one of the ends of the patio-roof rafters. The average cost of a lean-to patio cover is about $1,660. Lean-to patio installation costs ranged from $1,400 to $1,925 in the US for 2019.
Cloth Patio Cover Cost – Awning Cost
Installation of an awning costs $2,455 according to HomeAdvisor. Awning installation costs ranged from $1,250 to $3,691 according to data provided by 1651 homeowners. The lowest cost you could expect to pay for an awning is $400. The highest cost you could expect to pay for an awning is $5,800.
Non Rollup Awning: $375
Canvas Awning: $500
Portable Awning: $525
Metal Awning: $525
Manual Retractable Awning: $1,000
Motorized Retractable Awning: $2,750
JLC Offers Patio Cover Installation In Phoenix, Arizona
If your thinking about installing a patio cover in Arizona, let JLC assist! JLC offers installation of wood, alumawood, aluminum and lattice patio covers and pergolas for homeowners in Phoenix, Gilbert, Glendale, Mesa and other areas in Arizona.
Are you having trouble deciding between installing a patio cover or a pergola? Let’s take a look at the benefits of both structures and some key differences!
What Is A Patio Cover?
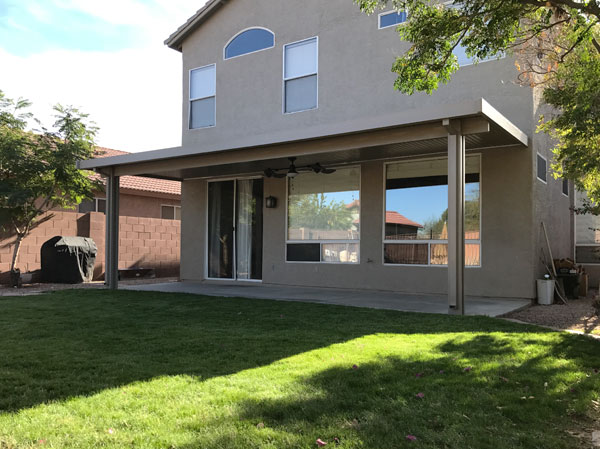
Unlike a pergola, a patio cover is essentially an extension of your home. The patio cover roof is typically covered with asphalt shingles designed to match the look of the home or garage. In most cases, the patio cover will be attached to the exterior siding. Patio covers can range in design and customized features.
These features may include materials such as wood stains, stone and built-in light fixtures. A patio cover is a great addition for any homeowner looking to add both protection from rain and shade from sunlight exposure.
What Is A Pergola?
Most experts do not define pergolas as a roof since it is built from a frame with open rafters. This means it cannot fully protect a home from inclement weather. Pergolas can, however, add much-needed shade to a backyard or garden area.
Pergolas can either be freestanding structures or attached to the home, depending on type of design desired. Homeowners can choose from a variety of high-quality wood stains or iron elements to build a pergola that can withstand weather conditions and add to the character of your home.
Differences Between Patio Cover And Pergola
Choosing between adding a pergola or patio cover can best be done by sifting through the differences of the structures. These differences will help give you a clear understanding of what would look best alongside your home. Take a look at a few key differences below.
1. Cost
Pergolas tend to be cheaper than most patio covers due to their simple designs. Patio covers will take a longer time to construct, adding to installation and labor costs. Sometimes, though, the expense of the covered patios is worth it because these structures will undoubtedly add more protection than pergolas.
2. Design
Overall look and design is a key difference between the two structures. Covered patios are a true extension of the home, meaning you can really get creative with design options and customized features. By comparison, pergolas are built of wood, vinyl or other high-quality materials and aren’t as easy to customize.
3. Privacy
The size of your existing outdoor space will help you decide how large you’d like the pergola or patio cover to be. It’s recommended that each structure should be sized to match the scale of other existing elements in the yard. This will make the area as aesthetically-pleasing as possible.
4. Support
Pergolas and patio covers are supported in different ways. A covered patio extends directly from the home to an outdoor wall. Pergolas are independently supported structures that can be placed either on the patio or any other area in the yard.
JLC Enterprises Offers Patio Covers In Phoenix, Arizona
If you are looking for Patio Cover installation services in Arizona, look no further than JLC Enterprises Inc. JLC offers Patio Cover Installations to the entire Phoenix, Arizona Valley, including, Phoenix, Gilbert, Glendale and more.
What are the best ways to add cover to your patio when rain is on the way? Check out some of the ideas below!
1. Set Up Awning
The first and easiest way to add some cover from inclement weather is by adding an awning over your patio. Feel free to customize the awning to match your patio’s shape, color and vibe.
2. Extra Foliage
You can truly get back to nature by adding a canopy of lush greenery to your patio. This sets a soothing touch to the patio while adding much-needed shade, at the same time.
3. Patio Pergola
There are so many great options when you choose to install a large pergola. One popular way to spruce up the area is by hanging plants. This will brighten up the area while still allowing for plenty of space.
4. Add A Skylight
Adding a skylight above your patio will not only protect you from rain, it will also look great! Give your patio a modern and unique feel by installing a skylight.
5. Canopy Of Lights
This is one of the easiest ways to up the ambience of the patio area. A canopy of lights will give your patio a romantic edge and keep the area free of spotty rain.
JLC Enterprises Offers Patio Covers In Phoenix, Arizona
If you are looking for Patio Cover installation services in Arizona, look no further than JLC Enterprises Inc. JLC offers Patio Cover Installations to the entire Phoenix, Arizona Valley, including, Phoenix, Gilbert, Glendale and more.
Are you looking for affordable and stylish patio coverings? This article will highlight the most popular patio covers on the market today.
Awnings
Awnings are commonly chosen by homeowners for their ability to efficiently guide water and debris off the surface. Homeowners love the versatility awnings offer, as they can be both permanent or retractable fixtures. Awnings are well equipped to handle any inclement weather, including high winds.
Awning styles come in a variety of designs and choices. Some designs can even make use of frames for automation and extra reinforcement. Size is often customizable, depending on your needs. Retractable awnings have been proven to be the longest lasting of all the options.
Benefits Of Awnings:
Can be controlled wirelessly through a smartphone or remote.
Customizable sizes and designs.
Can add smart lights for extra protection.
Solar Screens
Solar screens come in fabric panels, designed to limit sunlight exposure. These screens can cover an opening by hanging like classic curtains. Installed vertically, solar screens are also retractable and provide great shade on hot summer days.
These patio coverings are ideal for rooms that have poor temperature regulation. By installing these screens you may drastically reduce your electricity usage. Solar screens can be installed alongside other covering options like pergolas and awnings.
Benefits Of Solar Screens:
Many mounting options available.
Decrease electric bills.
Retractable designs come with remote controls.
Pergolas
This pillared garden structure can come with space rafters or completely solid. Homeowners may choose rafters because they allow great sunlight exposure and better heat circulation. These structures can come either free-standing, hanging or attached.
The roof of the pergola can be designed for aesthetic appeal. Typically, pergola owners will grow vines to cover the entire structure. Pergolas can be constructed of glass, stone, metal, wood or even plastic.
Benefits Of Pergolas:
Limitless design options.
Can support the weight of lighting and fans.
No maintenance needs.
Shade Sails
Shade sails or shade canopies are among the most portable patio covering options. Shade sails are pieces of material balanced between a couple anchor points. These structures can be anchored to the ground, between beams or on any sturdy surface.
Shade sails are the simplest option for homeowners looking to add shade to an area. Plus, these structures are relatively inexpensive. The only downside to these structures is that they can be prone to ripping.
Benefits Of Shade Sails:
Very affordable.
Portable.
Can block up to 90% of harmful UV rays.
JLC Enterprises Offers Patio Covers In Phoenix, Arizona
If you are looking for Patio Cover installation services in Arizona, look no further than JLC Enterprises Inc. JLC offers Patio Cover Installations to the entire Phoenix, Arizona Valley, including, Phoenix, Gilbert, Glendale and more.
Have a partner hold the door in place as you start drilling.
Step 4. Hang Metal Screen Door
Secure the door to the brick molding by using a power drill.
Perform this task by using the screws included in the manufacturer’s installation hardware.
Drill the screws through the holes found in the hinges.
Drive the screws through the Z bar and into the molding.
Check to see if it is hung evenly by opening and closing the door.
Step 5. Secure Header
Put the header piece above the security screen door.
Locate the precut holes in the header.
These holes will determine where you need to place the screws.
Match the screwdriver blade size with the size of the screws.
Use a screwdriver to screw the header into its place.
Step 6. Install The Expander
After opening the door, slip the expander piece along the bottom of the security door.
This is a strip which acts as a barrier, keeping debris from collecting beneath the door.
Using an electric drill, screw the expander into place.
Open and close the door to check if there is enough clearance once the expander is in position.
JLC Enterprises Offers Security Door installations In Phoenix, Arizona
If you are looking for Security Door installation services in Arizona, look no further than JLC Enterprises Inc. JLC offers Security Door Installations to the entire Phoenix, Arizona Valley, including, Phoenix, Gilbert, Glendale and more.
If you are searching for “vinyl vs aluminum windows“, this will be your guide.
Vinyl Vs Aluminum Windows: Which Is Best?
Both vinyl and aluminum windows have advantages and disadvantages. These are aesthetically-pleasing options that are frequently used for residential and commercial projects. So, which window is best for your project? Let’s look at a few factors!
1. Appearance
Vinyl and aluminum frames have many similarities. Both frames offer a wide range of colors and finishes. They can also come in nearly any window configuration necessary. However, there are times when these two frames can look quite different.
Aluminum windows tend to be thin-framed, meaning most of the window is the glass pane. Vinyl windows, meanwhile, will mimic traditional window frame features. If you want a conventional wood-grain look, then vinyl is the choice. Aluminum windows can be coated to look like wood, yet will not look as realistic as vinyl.
2. Energy-Efficiency
If energy-efficiency is a priority, vinyl windows are the way to go. Energy-efficiency is one of the top reasons why vinyl windows are so popular. These windows can reduce heat transfer and light penetration, helping to regulate room temperature.
Aluminum frames and sashes conduct heat, warming rooms. Thermally improved aluminum materials help with energy loss, but come with a hefty cost.
3. Durability
When compared to conventional wood frames and sashes, both aluminum and vinyl windows are extremely durable. Aluminum does tend to visibly chip or dent, so damage will be noticeable. Aluminum must also deal with fading and corrosion, which does not exist with vinyl models. Aluminum, however, is still the stronger material despite its issues. While vinyl windows can be used in all climates, they may not hold up as well as aluminum.
4. Cost
Cost is typically the number one thing on everyone’s mind when it comes to purchasing new windows. Vinyl windows actually cost significantly less than aluminum windows. Manufacturer quality and additional features will always be factors in the final cost, of course.
5. Installation
Both of these windows require professional installation. Vinyl is undoubtedly easier to install due to its flexibility. Aluminum is not flexible at all, which makes it more difficult to install properly.
Vinyl Window Pros And Cons
Here’s a look at some of the advantages and disadvantages of installing vinyl windows.
Pros:
Energy-efficient.
Easy to install.
Increases resale value.
Cons:
Contracts and wraps.
Not biodegradable.
Little insulation in frame.
Aluminum Window Pros And Cons
Here’s a look at some of the advantages and disadvantages of installing aluminum windows.
Pros:
Durable.
Environmentally friendly.
Increases resale value.
Cons:
Heat can penetrate through.
Expensive.
Cannot be painted on.
JLC Enterprises Offers Window Installation Services In Phoenix, Arizona
If you are looking for Window installation services in Arizona, look no further than JLC Enterprises Inc. JLC offers Window Installations to the entire Phoenix, Arizona Valley, including, Phoenix, Gilbert, Glendale and more.
While climate and conditions both play roles in life expectancy, vinyl windows last between 20-40 years on average.
Vinyl Windows Lifespan
Instead of typical materials like wood, fiberglass or metal, these windows feature frames made of vinyl. Vinyl frames are constructed of PVC, so they are extremely durable. Life expectancy, as mentioned above, will very much depend on the climate/conditions you live in. For example, exposing the windows to harsh sunlight for a long period of time will break the vinyl down quickly. In this circumstance, your vinyl window may only last up to 20 years. Windows located in a shady area tend to have a longer lifespan.
Vinyl Windows Vs Metal Windows
Typically made of aluminum, metal window frames are lightweight and much cheaper than other common materials. Aluminum is a poor insulator and can be damaged easily, especially during violent storms.
Vinyl Windows Vs Fiberglass Windows
These two window types are often compared due to their many similarities. Durability is one thing vinyl and fiberglass windows have in common. Even with the similarities, fiberglass windows will cost more than vinyl windows. Additionally, fiberglass is not as widely available as vinyl.
Vinyl Windows Vs Wood Windows
Wood windows have a much shorter lifespan than vinyl windows, despite being an effective insulator. Wood, unfortunately, is subject to rot, which you don’t have to worry about with any other material. Wood is not your best option if durability is a top concern.
Average Window Lifespans
Here is a look at the typical life expectancy for windows, based on material:
Vinyl Windows: 20-40 years.
Metal Windows: 20-25 years.
Wooden Windows: 15-20 years.
Fiberglass Windows: 50+ years.
How To Increase Life Expectancy Of Windows
Thankfully, there is one sure way to increase the life expectancy of your windows. All you have to do is keep up with routine maintenance needs. Coat your windows with protective sealant to prevent depreciation before any harsh weather. Any widows exposed to harsh UV rays should be shaded in an effort to prevent cracking. Semi-annual cleanings should keep your windows in good shape for years to come.
JLC Enterprises Offers Window Installation Services In Phoenix, Arizona
If you are looking for Window Installation Services in Arizona, look no further than JLC Enterprises Inc. JLC offers Window Installations to the entire Phoenix, Arizona Valley, including, Phoenix, Gilbert, Glendale and more.
Modern storm doors are stronger, smoother and much more aesthetically-pleasing than older models. So, how can you replace and install a storm door yourself? Follow our guide below!
Step 1. Find The Right Door
Start by measuring the size of the storm door you need to replace – height and width.
Most storm doors are 36 in. wide.
Most storm doors are reversible, meaning you can install with the hinge on either side.
Always follow the manufacturer’s directions when installing the door.
Mount the door to the exterior door trim by using “Z bars.”
Some doors will require you to drill holes for the latch.
Step 2. Prepare For Installation
Find a flat area to lay the new door box down and make sure you have all the parts you need.
Check for any damage or missing parts before moving on with the project.
Use cardboard as a work surface to prevent any scratches on the door.
Peel away any plastic after the door has been fully installed.
Next, hinge the storm door on the same side where the exterior door is located.
If there happens to be an adjoining rail or wall, have the door swing against it.
Step 3. Remove Old Storm Door
Typically, removing an aluminum door simply involves unscrewing and mounting screws on the door.
If caulk is featured around the frame, you can cut through it with a utility knife.
A heat gun can soften the caulk, as well.
Get rid of the old door by putting the glass panel in the trash.
Cut up the aluminum frame with a circular saw and carbide-tipped blade.
Toss all remaining pieces in the recycling bin.
Step 4. Prepare The Opening
Storm doors will hang to the door trim which is called the exterior casing.
If your new entry door needs some paint, now is the time to do that.
Manufacturers tend to make storm doors a bit narrower than traditional openings, so make sure the new door will fit.
You may need to install one 1/4-in furring strip at this point.
Step 5. Install Storm Door
It is vital to mount the door securely to the hinge-side trim.
Tug against the latch side to make sure it is snug.
Cutting the Z-bar can be a bit difficult. The trick is to center it on the lock and latch.
Find where it strikes the sill and cut the bottom at an angle where it matches the sill.
Cut the top next, ensuring it fits against the Z-bar.
Adjust the closer tension after installation of the door sweep and closers.
Closers need to be set with the door at its heaviest.
Save the boxes to store the window and screen panel during the off-seasons.
Required Supplies For Installation
Use these tools and materials if you plan on installing the storm door yourself:
Caulk gun
Cordless drill
File
Hammer
Hacksaw
Pliers
Level
Utility knife
4-in-1 screwdriver
Wood chisel
Combination square
Exterior paint
Exterior caulk
Shims
Storm door
Furring strip (1/4-3/4-in.)
JLC Enterprises Offers Window Replacements In Phoenix, Arizona
If you are looking for Window Replacement Services in Arizona, look no further than JLC Enterprises Inc. JLC offers Window Replacements to the entire Phoenix, Arizona Valley, including, Phoenix, Gilbert, Glendale and more.