15 Deck Shade Ideas
If you are looking to add more shade surrounding your deck area, consider any of these 15 ideas below!
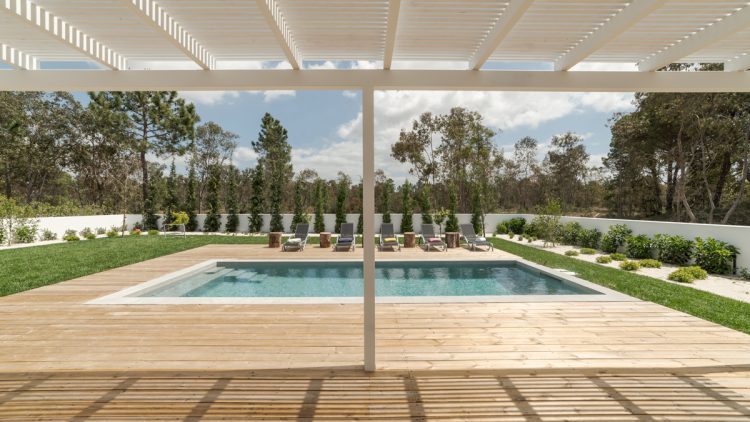
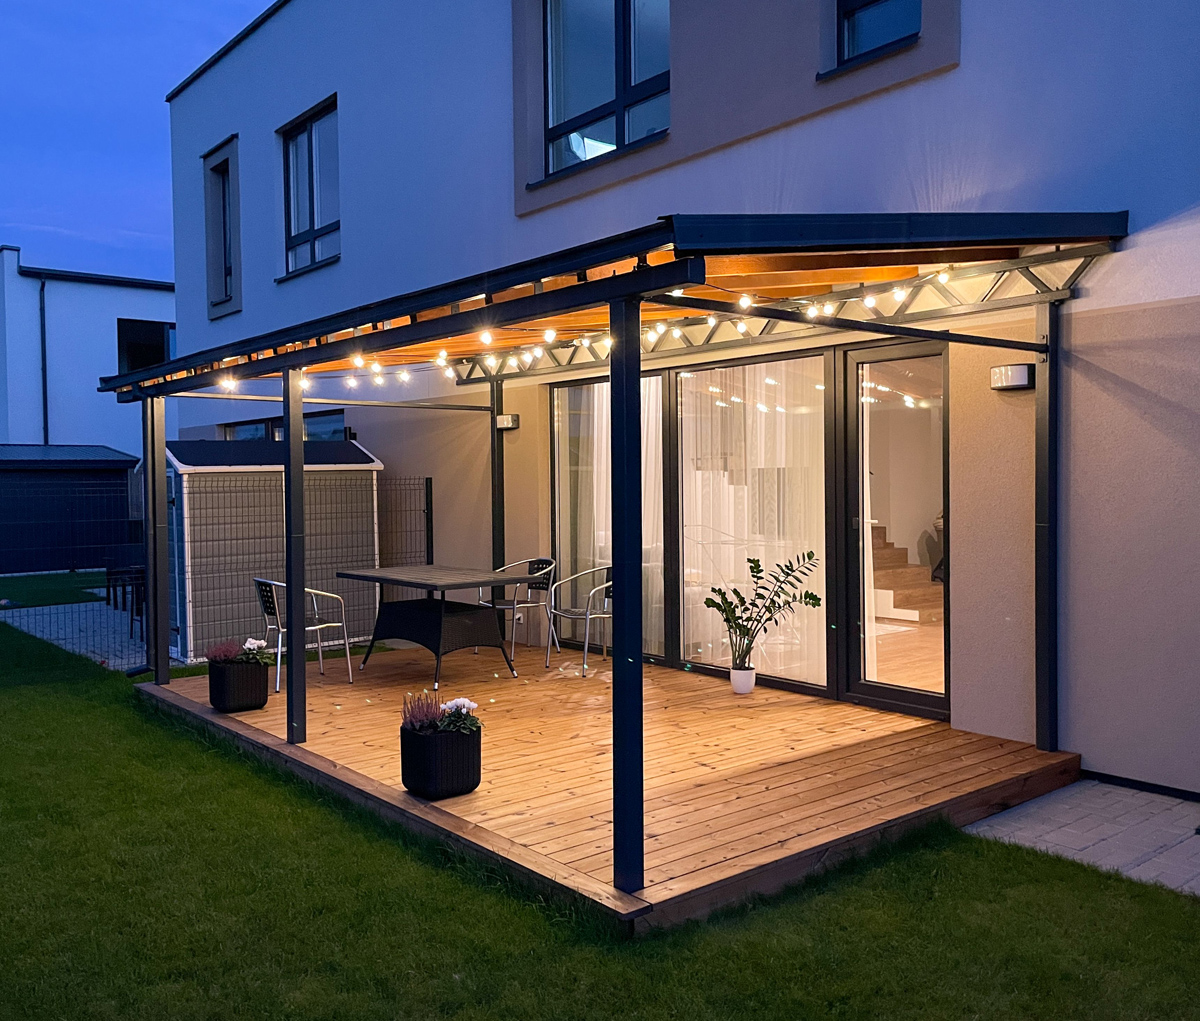
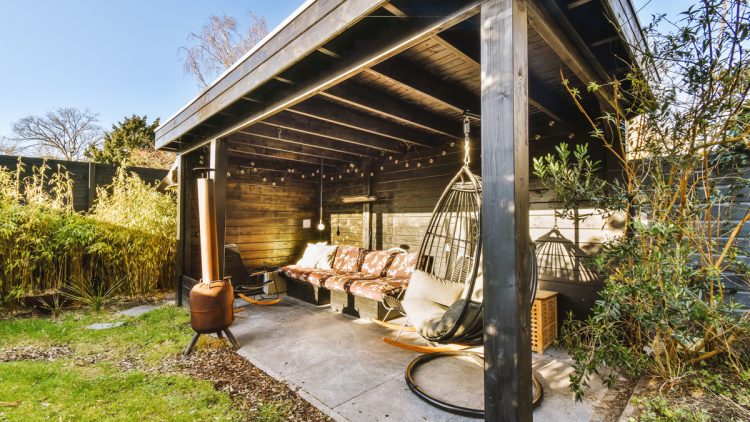
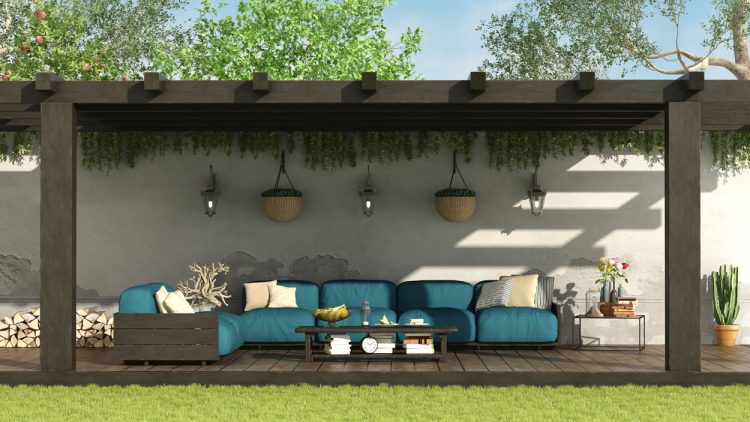
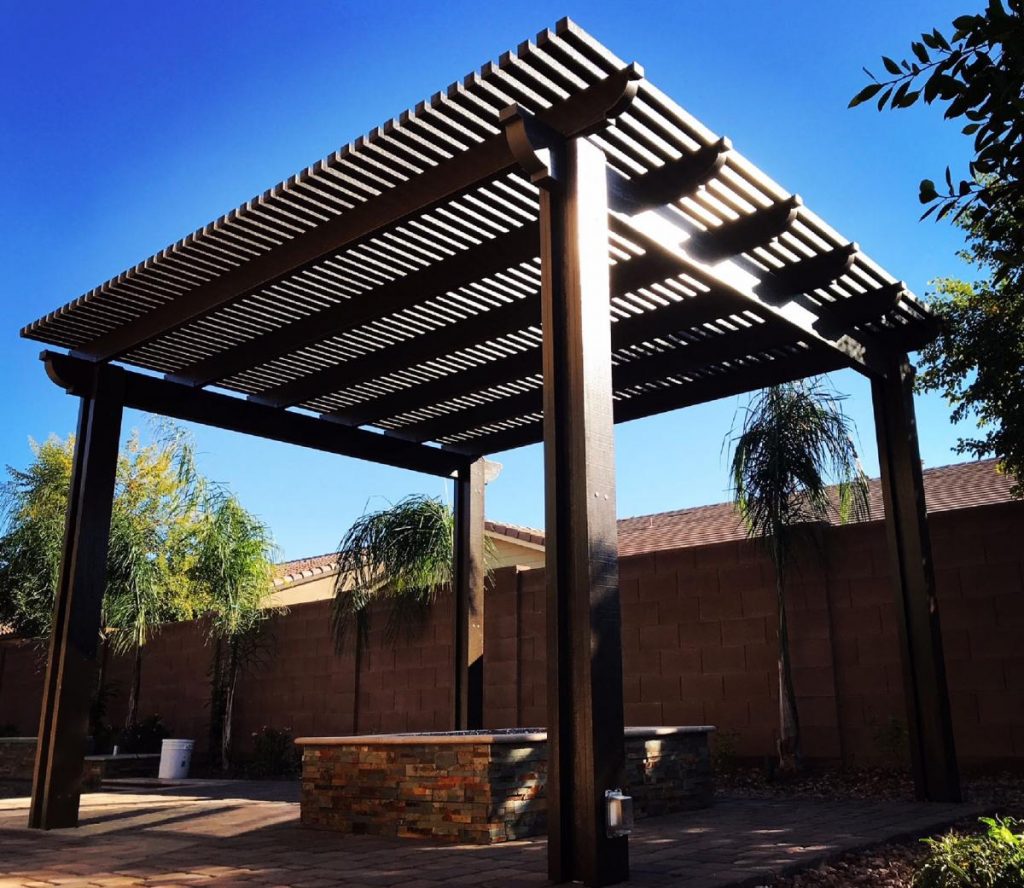
1. Install A Pergola
Most experts do not define pergolas as a roof since it is built from a frame with open rafters. This means it cannot fully protect a home from inclement weather. Pergolas can, however, add much-needed shade to a backyard or garden area.
Pergolas can either be freestanding structures or attached to the home, depending on type of design desired. Homeowners can choose from a variety of high-quality wood stains or iron elements to build a pergola that can withstand weather conditions and add to the character of your home.
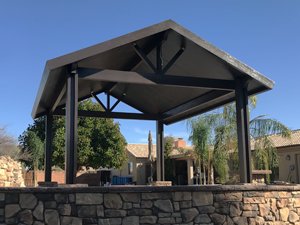
2. Gazebo
You can protect your guests and patio furniture from the sun with the addition of a gazebo. A full gazebo canopy will provide maximum protection from the elements while giving your outdoor living space a clean look, at the same time.
Most homeowners must choose between a steel or wooden frame when installing a gazebo. A small gazebo can do the trick if you’re simply looking to cover the grill area.
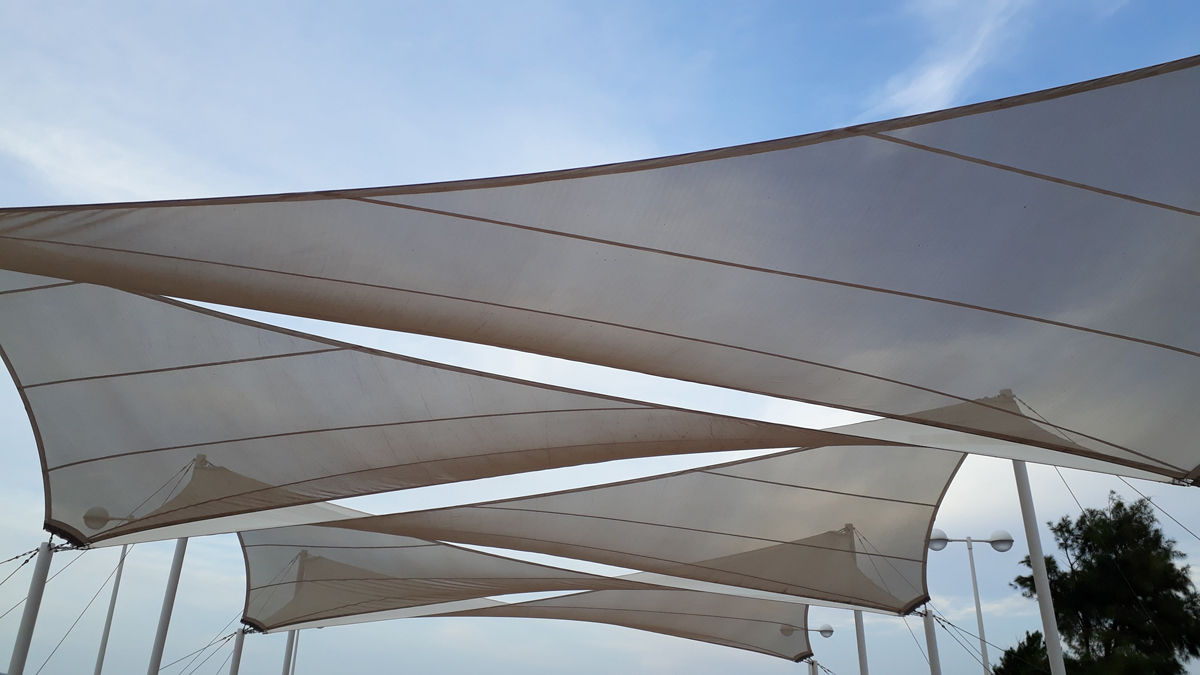
3. Hang A Shade Sail
Unfortunately, some yards may not feature an obvious area to place an awning or umbrella. If this is the case in your outdoor living area, you could consider hanging a shade sail.
The durable, weatherproof fabric can block out the sun’s harmful rays. Shade sail fabric can come in all sorts of shapes and sizes to fit your yard.
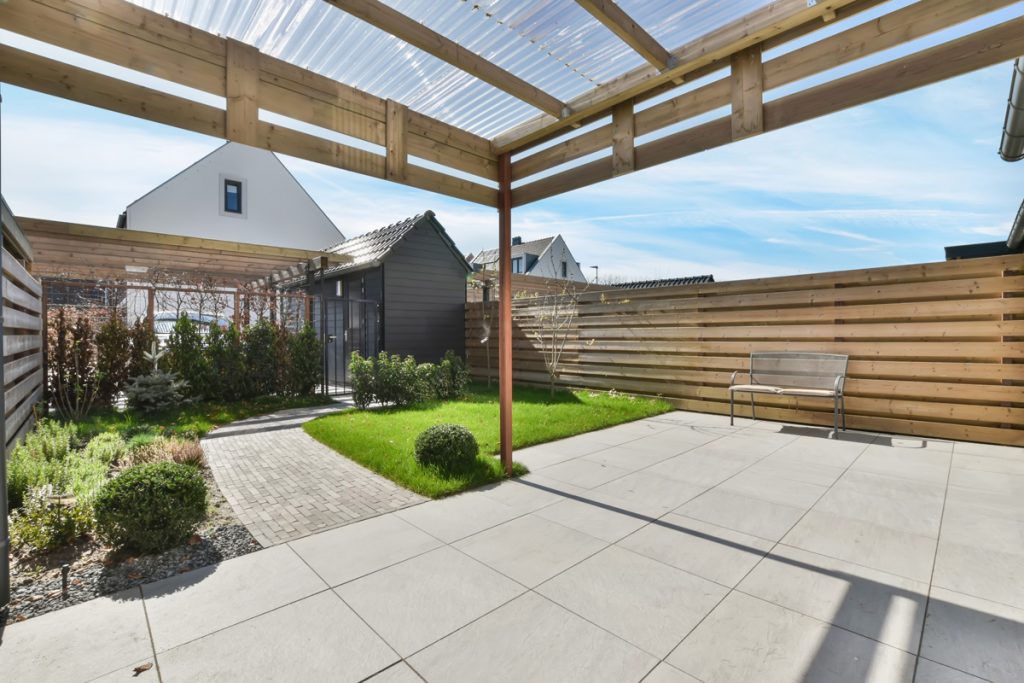
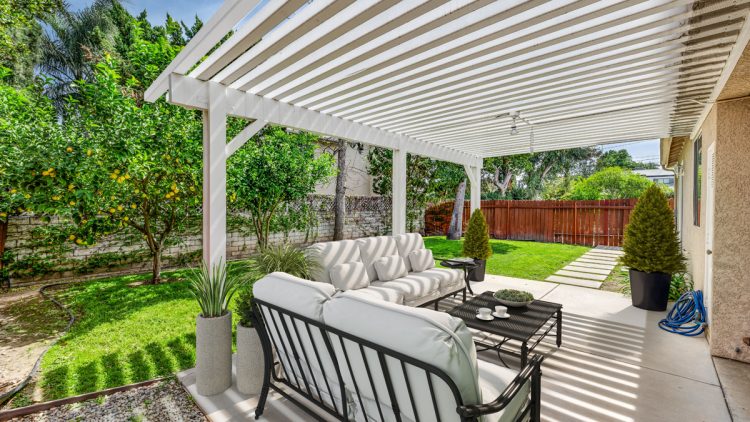
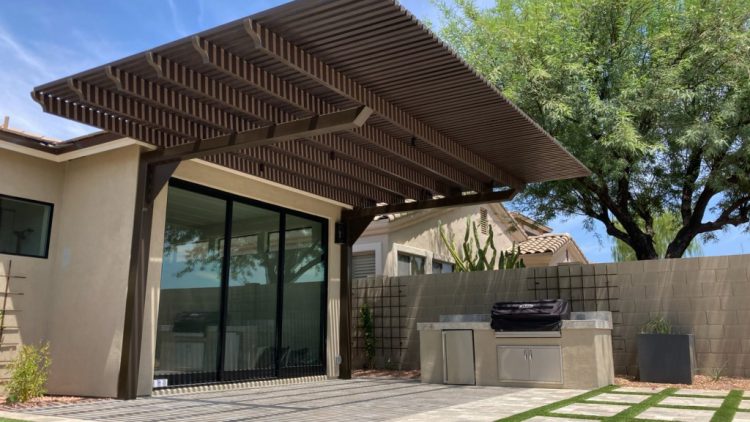
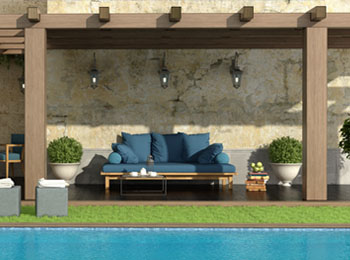
4. Latice Patio Covers
Lattice patio covers are also known as pergolas, ramada’s, or gazebos. Our lattice patio covers differ, as each are crafted from highly durable Alumawood. What is Alumawood? It is manufactured from durable, lightweight, and strong aluminum. It’s embossed with lifelike high quality wood grain for that more natural look.
It perfectly captures the look of wood without the maintenance needs of real wood. Alumawood will not crack, warp or split and it never needs painting! The finished product looks beautiful from the day it is installed and remains that way for years to come.
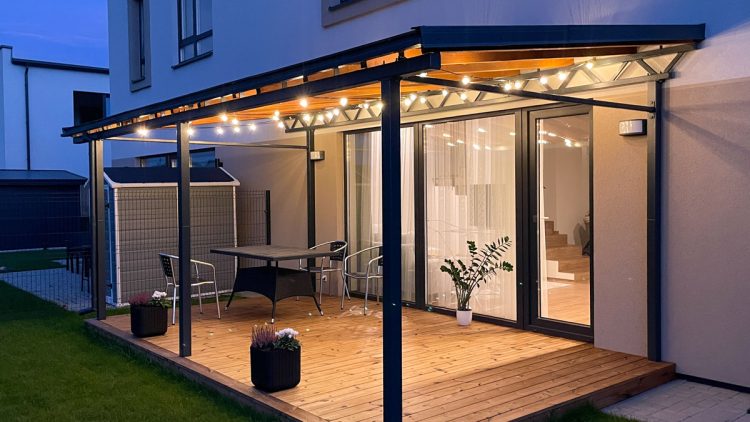
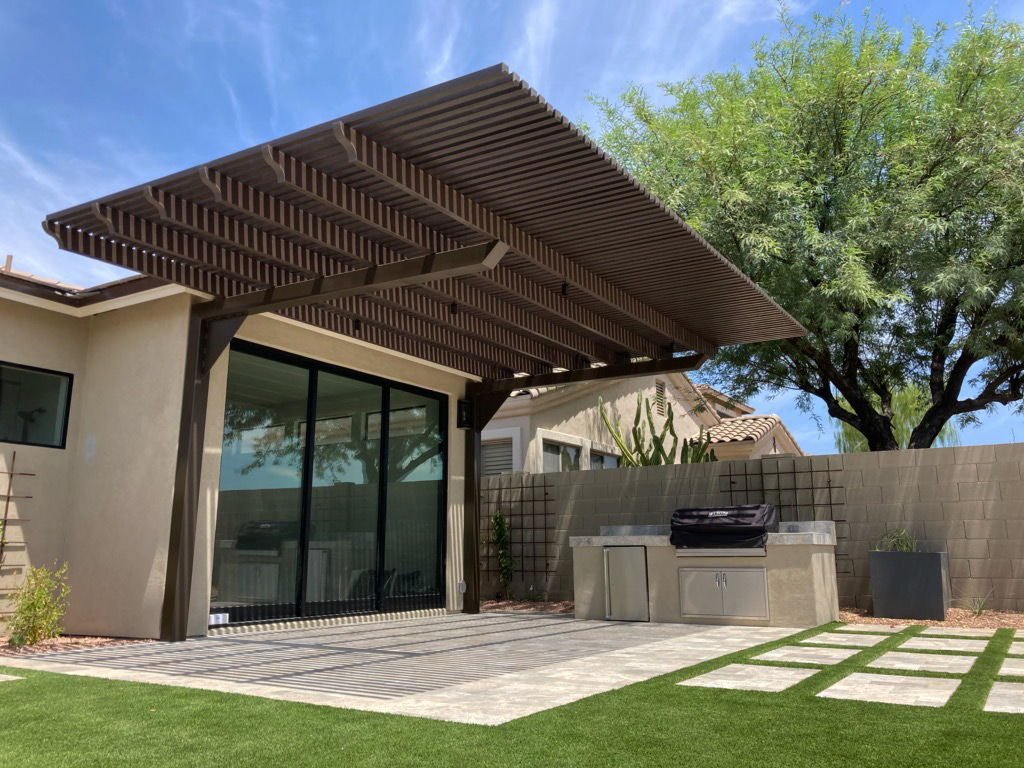
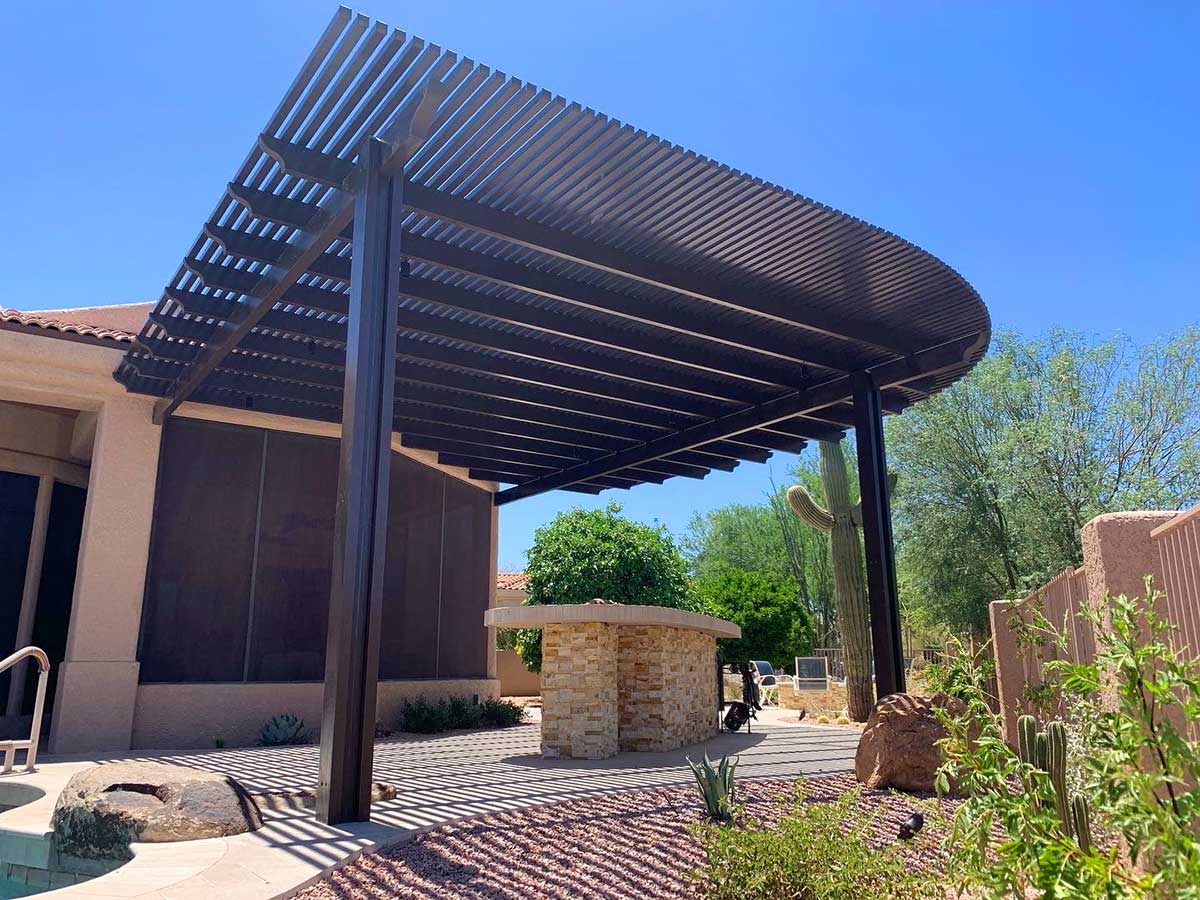
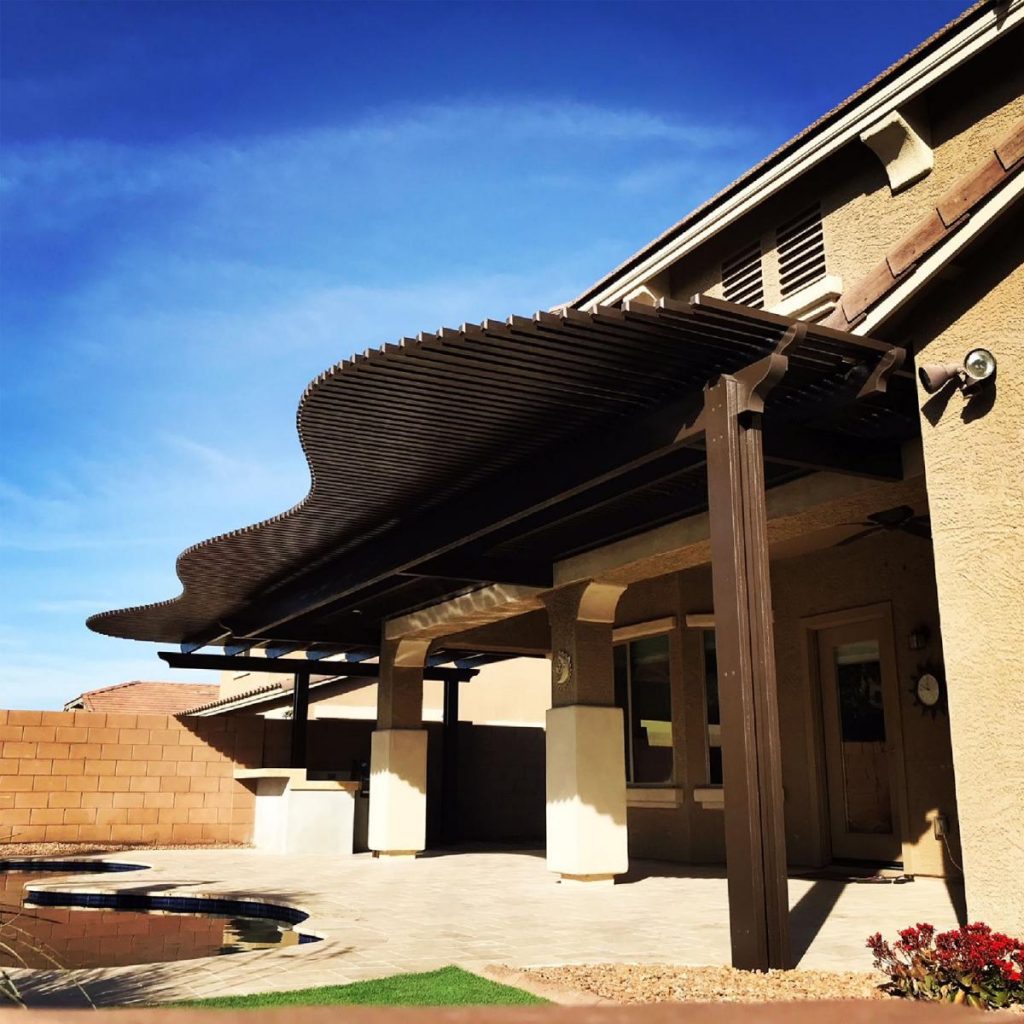
5. 4K Aluminum Pergolas
It’s no secret that 4K aluminum pergolas are highly durable structures that provide both shade and elegance to an outdoor living space. These structures feature customizable designs, ease of installation, and very few maintenance needs over time. 4K aluminum pergolas are undoubtedly a popular choice for enhancing a patio, backyard, or garden area.
When selecting an outdoor shade structure, consider a 4K aluminum pergola for its strength and durability. These heavy-duty structures can resist rust and fading, while withstanding the harsh winds brought on during monsoon season in Arizona.
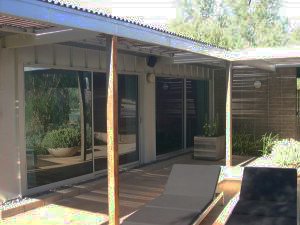
6. Install An Awning
A retractable awning can result in some instant shade outdoors. Installing an awning can be a simple DIY task that’s completed in just a few hours.
You’ll be able to choose between a manual crank option or a motorized version.
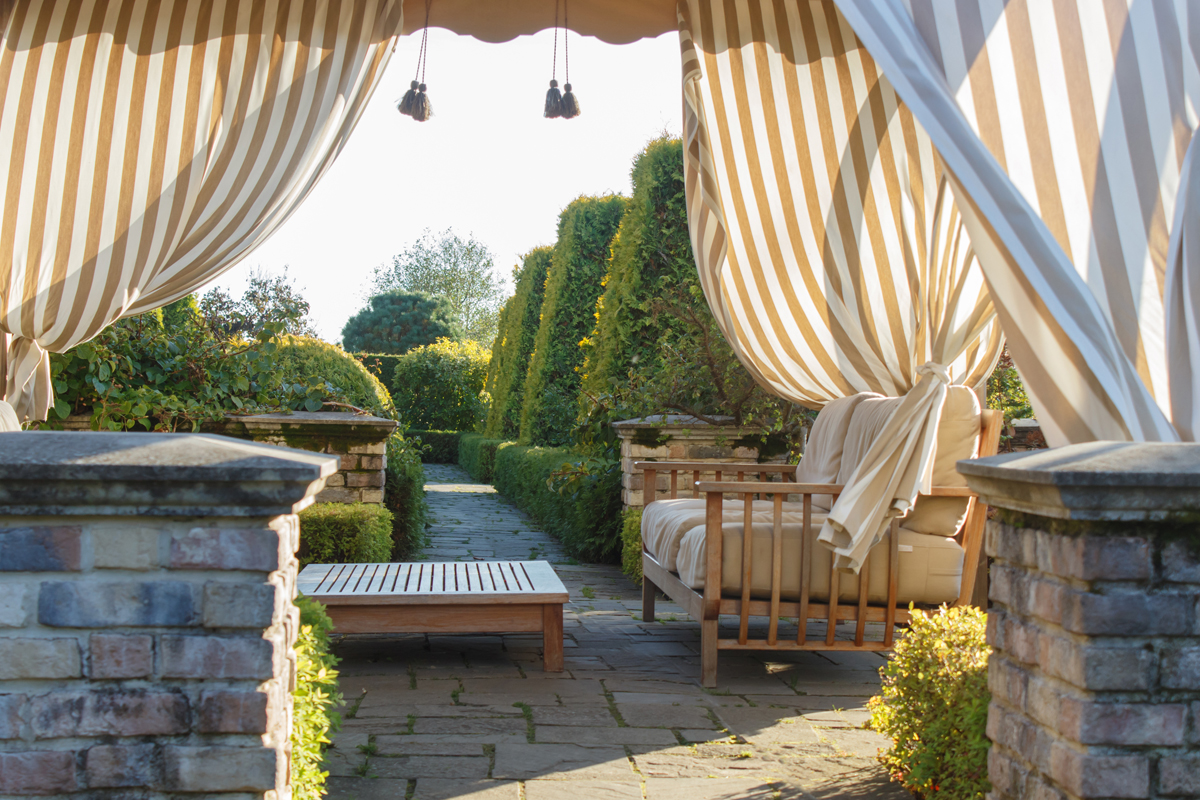
7. Hang Outdoor Curtains
Adding a pair of curtains can be one of the easiest ways to introduce more shade to your yard. Heavy-duty fabric will be able to withstand the elements while allowing for flexibility when it comes to your preferences.
These curtains can come in a wide array of colors and patterns. A neutral pair of curtains in a cream or white color can give your space a more modern appeal.
8. Roller Shades
A covered porch can offer some much-needed shade from the harsh Arizona sunshine.
Some porches may also feature a roller shade that can be pulled down during the sunniest parts of the day, creating more shade.
9. Fabric Shield
Fabric shields tend to be a favorite choice of nature enthusiasts. It is also a great option for anyone with a tight budget.
Typically, outdoor fabric is available with many color options. These are good solutions for outdoor deck shading.
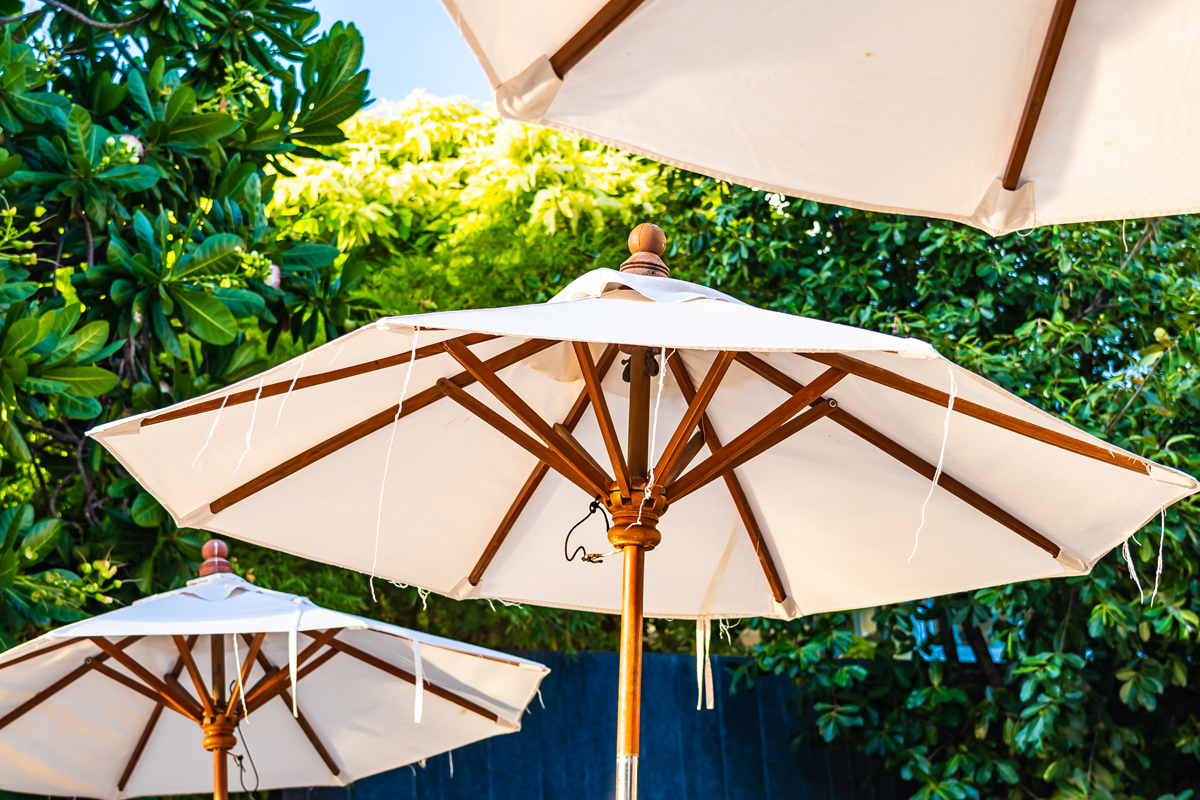
10. Use Umbrellas
The most budget-friendly option on the market today is the outdoor umbrella.
Most homeowners tend to choose umbrellas that come with a style that compliments their outdoor living space.
11. Shade Panels
Shade panels allow any homeowner to add somewhat of an artistic flare to their deck area.
These panels can give your outdoor space an appealing look, while offering protection from the sun, at the same time.
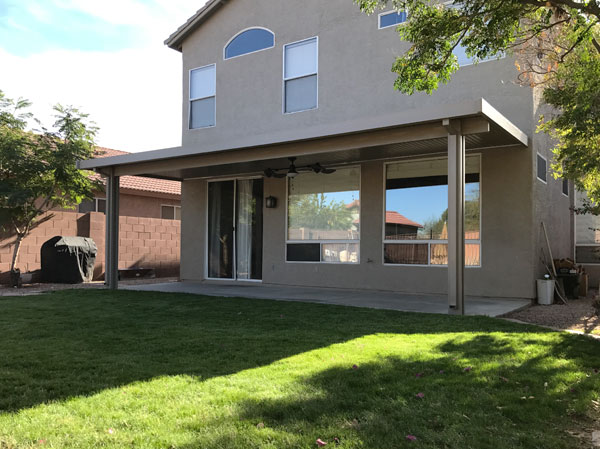
12. Roof Overhangs
These permanent outdoor shade structures are often referred to as luxurious.
Homeowners can customize the overhangs or match their design to the existing roof.
13. Wrap Around Porch
You can give your outdoor space a beautiful look with a feature like a wrap-around porch.
Homeowners often enjoy the permanent pitched roof, deck railing, and vertical beams.
14. Screened & Windowed Lanai
This tropical shade feature comes complete with a semi-enclosed and screened structure.
This lanai is often ideal for keeping the bugs away and providing shade while dining outdoors.
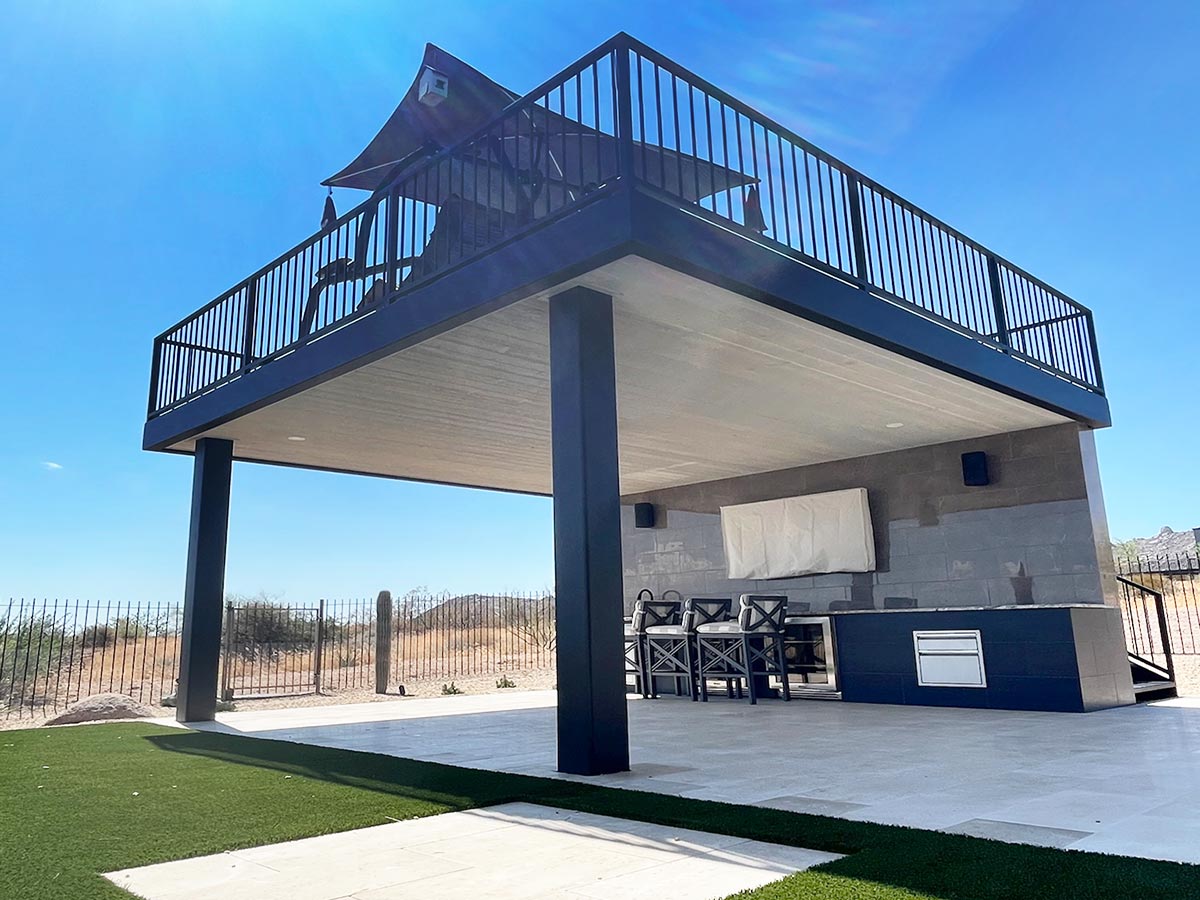
15. Take Advantage Of Underdeck Shade
The space beneath your deck could be the perfect area to design a whole new hangout.
The only thing better than one deck is two decks!
Backyard Shade Structure Installation In Phoenix, Arizona
If you’re thinking about installing a patio cover in Arizona, let JLC assist! JLC offers installation of wood, alumawood, aluminum and lattice patio covers and pergolas for homeowners in Phoenix, Gilbert, Glendale, Mesa and other areas in Arizona.